No-Bake Chocolate Cheesecake Cups You Can Make Tonight
These no-bake chocolate cheesecake cups come together in about 20 minutes and need nothing more than some fridge time to set into a rich, creamy dessert. Perfect for making ahead and genuinely one of those recipes you will turn to again and again.
 Jun 28, 2026
Ingredients
Step-by-Step Method
Make the Oreo Crust
Combine the finely crushed Oreo cookies with the melted butter in a bowl and stir until the mixture looks like damp sand. Divide it evenly between 6 cups or glasses and press it down firmly with the back of a spoon to form a compact base. Set the cups in the fridge while you prepare the filling.
Beat the Cream Cheese
Using a hand mixer or stand mixer, beat the room temperature cream cheese on medium speed for about 2 minutes until it is completely smooth with no lumps. Add the powdered sugar, cocoa powder, and vanilla extract and beat again until everything is well combined and the mixture looks thick and uniform.
Add the Melted Chocolate
Pour in the melted dark chocolate and beat on low speed until fully incorporated. Taste the mixture at this point and add a touch more powdered sugar if you want it sweeter. Set the bowl aside.
Whip the Cream
In a separate clean bowl, whip the cold heavy cream with the 2 tablespoons of powdered sugar using a hand mixer. Beat on medium-high until firm peaks form. This usually takes about 3 to 4 minutes. Be careful not to overbeat.
Fold Together
Add about a third of the whipped cream to the chocolate cream cheese mixture and stir it in gently to lighten the base. Then fold in the remaining whipped cream using a spatula with slow, sweeping motions until no white streaks remain. Keep it gentle so you do not lose the airiness.
Fill the Cups
Spoon or pipe the chocolate cheesecake filling over the prepared Oreo crusts in each cup, dividing it evenly. Smooth the tops with the back of a spoon or a small offset spatula.
Chill and Serve
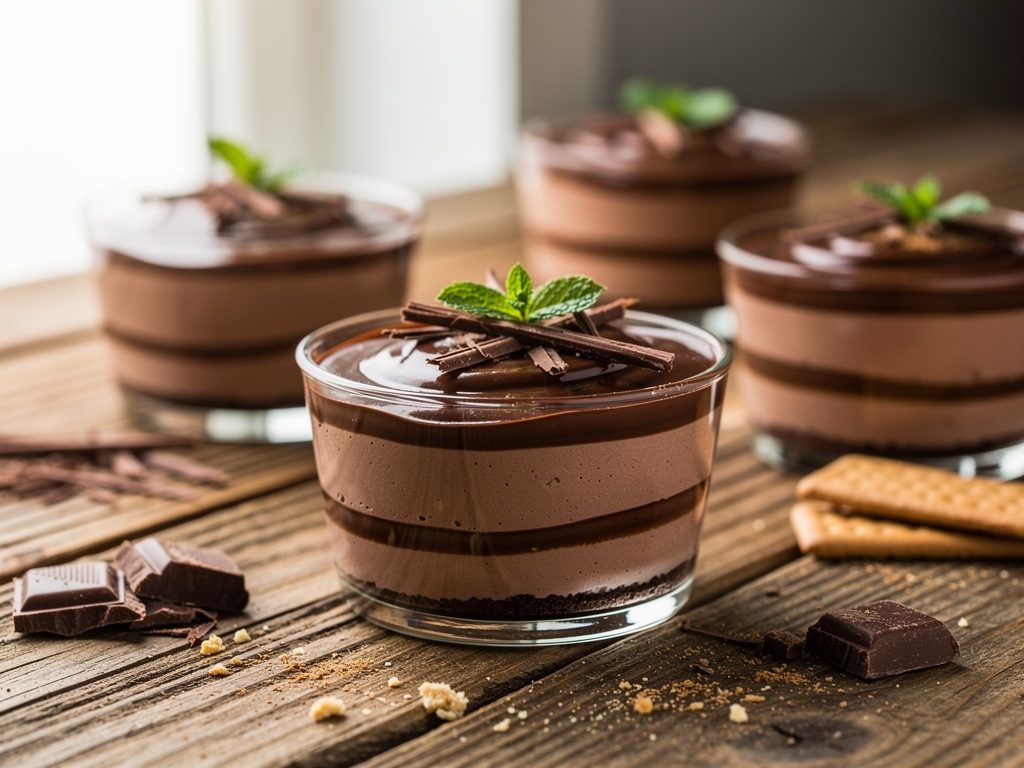
Cover the cups and refrigerate for at least 2 hours, or overnight for best results. Before serving, top each cup with chocolate shavings, a dusting of cocoa powder, or any toppings you like. Serve cold straight from the fridge.
Honestly, some of my favorite desserts are the ones that never see the inside of an oven. I came up with these no-bake chocolate cheesecake cups one evening when I had a serious chocolate craving and zero patience to wait for something to bake and cool. They came together in about 20 minutes, went into the fridge, and by the time we finished dinner they were perfectly set and absolutely dreamy.
If you enjoy easy recipes like this one, you will also love Air Fryer Cinnamon Sugar Donuts, 10-Minute Healthy Air Fryer Apple Crumble, and Air Fryer Chocolate Lava Cake.
Why This Recipe Works
There are a few reasons this one keeps showing up at my table, especially when I have people over.
- No oven needed which means less stress and less heat in your kitchen, especially handy in summer.
- The cream cheese filling sets firm enough to hold its shape in the cup but still has that smooth, mousse-like feel when you eat it.
- Individual cups mean no awkward slicing and no one fights over portion sizes.
- You can make them a day ahead, which is a genuine relief when you are hosting.
- The cocoa and melted chocolate together give a deep, real chocolate flavor rather than something flat or one-dimensional.
A Few Honest Tips Before You Start
- Make sure your cream cheese is truly at room temperature. Cold cream cheese will leave lumps in your filling no matter how long you beat it.
- When you fold in the whipped cream, go slowly and use a spatula rather than a whisk. You want to keep the air in there so the filling stays light.
- Press the Oreo crust layer down firmly with the back of a spoon. If it is too loose it crumbles when you try to eat through the layers.
- Taste the filling before you spoon it in. Everyone has a different idea of sweet, and this is your chance to adjust.
- Let them chill for at least two hours. One hour is tempting but the texture is noticeably better if you wait.
Variations and Substitutions
- Crust swap: Graham crackers work just as well as Oreos if you want something a little less sweet on the bottom.
- Dairy-free version: Use a good dairy-free cream cheese and full-fat coconut cream whipped up instead of heavy cream. The texture is slightly softer but still really good.
- Add a flavor twist: A small spoonful of peanut butter stirred into the filling is incredible. Espresso powder is another great addition if you like mocha vibes.
- Toppings: Crushed hazelnuts, a drizzle of caramel, fresh raspberries, or just extra chocolate shavings all work nicely on top.
- Portion size: Use smaller shot glasses or mini cups for a party and get twice as many servings out of the same recipe.
Serving Suggestions
These cups are rich so a small serving genuinely satisfies. I like to pull them out of the fridge about 10 minutes before serving so the filling softens just slightly. A few fresh berries on top cut through the richness nicely. They look beautiful on a dessert table with a little dusting of cocoa powder over everything right before guests arrive.
Storage and Reheating
Cover each cup with plastic wrap or pop them into an airtight container and store them in the fridge for up to four days. The crust does soften a little over time but most people actually enjoy that texture. You can also freeze them for up to a month. Just thaw overnight in the fridge before eating. No reheating needed obviously since these are meant to be served cold.
Frequently Asked Questions
Can I make these no-bake chocolate cheesecake cups a day before my event?
Yes absolutely, and I would actually encourage it. Making them the night before gives them a full overnight chill which improves the texture and makes the whole thing taste more set and cohesive. Just keep them covered in the fridge and add any fresh toppings right before serving.
Why is my filling too soft and not holding its shape?
This usually comes down to one of two things. Either the cream cheese was not beaten long enough and still has a loose texture, or the whipped cream was not stiff enough before folding in. Make sure you whip the heavy cream to firm peaks before combining it with the chocolate cream cheese mixture.
Can I use low-fat cream cheese to cut calories?
You can but the filling will be noticeably softer and may not set as firmly. Full-fat cream cheese gives you that thick, stable texture that makes these cups so satisfying. If cutting calories matters to you, reducing the portion size is honestly a better trade-off than switching the cream cheese.
Do I need any special equipment?
Not really. A hand mixer makes the cream cheese smooth quickly but you can manage with a sturdy whisk and some patience. You just need cups or glasses, a mixing bowl, and a spatula. That is genuinely it.
These little cups have saved me more times than I can count when I needed something impressive without a lot of effort. Once you make them the first time you will see how forgiving and flexible the recipe is, and you will probably find yourself coming back to it again and again.
Community Reviews
No reviews yet. Be the first to share your experience!